If you’ve ever moved a plant from one spot to another whether it’s from pot to garden bed or a nursery tray to your balcony planter- the plant will more likely encounter transplant shock.
It’s a common problem many gardeners face, and while it might seem alarming at first, the good news is: it’s manageable. With the right steps, you can prevent transplant shock or at least ease your plants through with minimal fuss.
In this article, we’ll explain what transplant shock is, how to spot it, and share 9 practical ways to reduce its effects.
What is Transplant Shock?
Transplant shock happens when a plant experiences stress after being moved, if that’s from a pot to soil, one container to another, or even a new position in your garden.
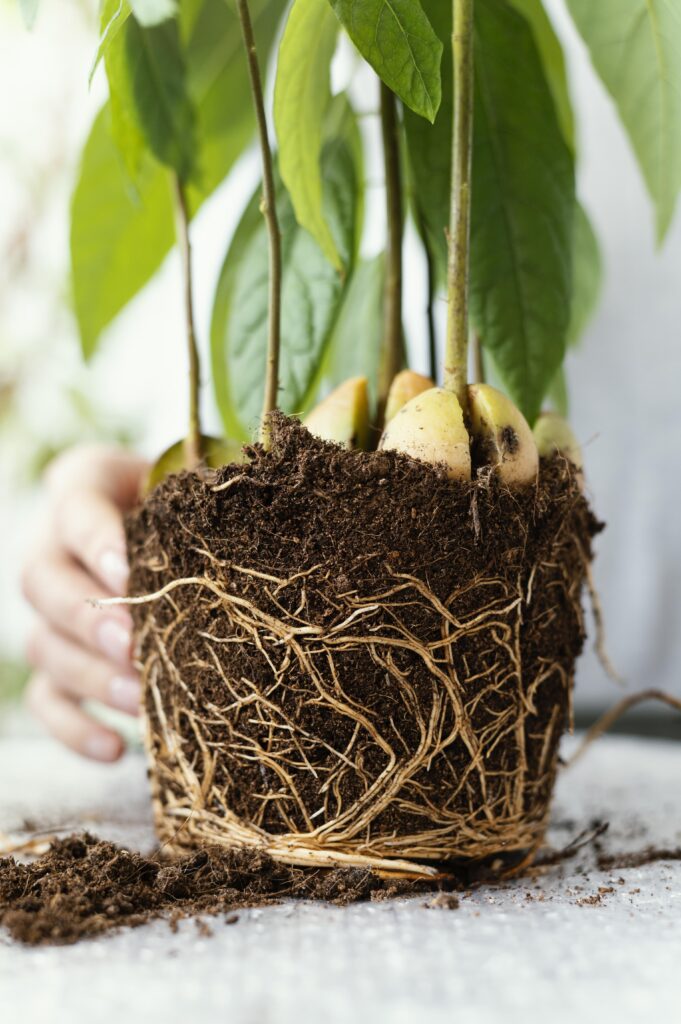
The main cause of transplant shock is Disturbed roots. When you transplant a plant, even carefully, you often damage or expose some of the roots. And since roots are how a plant absorbs water and nutrients, any disruption can slow its ability to adapt.
In simple terms, the plant is struggling to re-establish itself. It’s been removed from a stable environment and suddenly needs to adjust to new soil conditions, light levels, temperature, and moisture. The root system may not be equipped to absorb enough water at first, leading to dehydration and stress.
That’s why transplant shock tends to hit hardest when conditions are already extreme like in hot sun, dry winds, or during drought.
9 Ways to Minimize Transplant Shock
1. Water Before and After Transplanting
Make sure the plant is well-watered before moving it. This helps keep the roots hydrated during the transition. Once planted in the new location, water it again gently but thoroughly to help settle the soil around the roots.
Tip: Avoid drowning the plant — moist, not soggy, is the goal.
2. Transplant in the Coolest Part of the Day
Early morning or late afternoon are the best times to transplant. Cooler conditions help the plant conserve moisture and reduce sun-related stress while it adjusts to its new home.
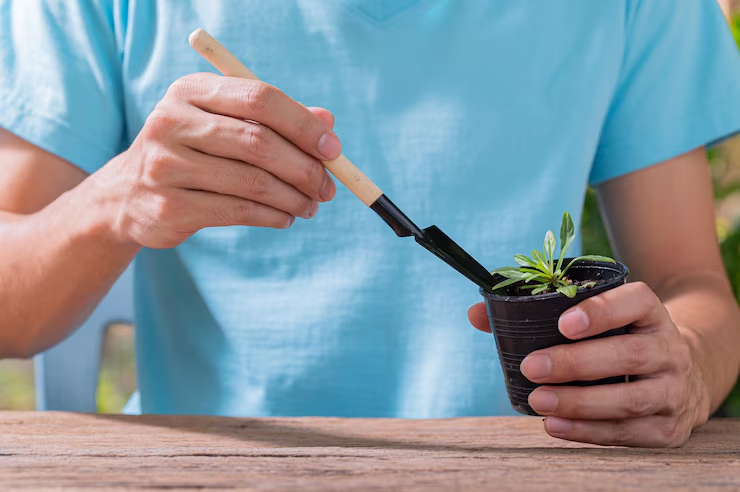
3. Handle the Roots Gently
Try to keep the root ball intact. If you’re removing the plant from a pot, gently squeeze the sides or tap the bottom to loosen it instead of pulling by the stem.
If the roots are circling or tightly packed (root-bound), gently tease them apart to encourage outward growth. Be careful not to tear them too much — a light hand goes a long way here.
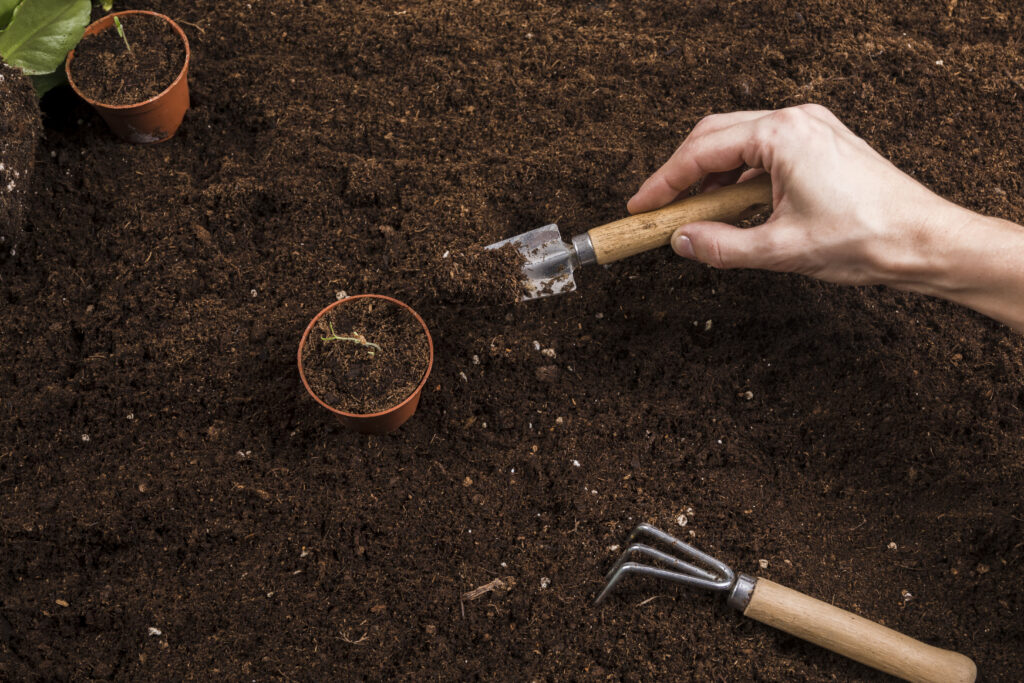
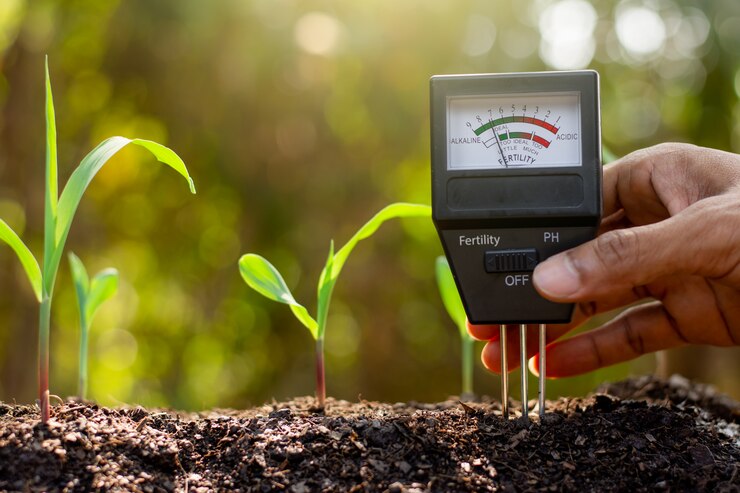
4. Prep the Soil in Advance
Healthy soil means a better chance of a smooth transition. Loosen the soil in the planting area and enrich it with compost or well-rotted organic matter. This gives roots something soft and nutrient-rich to grow into.
5. Hold Off on Fertilizing Right Away
It might seem like a good idea to feed your plant to “perk it up,” but too much fertilizer — especially chemical ones — can actually add more stress. Wait a week or two, then consider a mild organic feed like seaweed tonic or compost tea if needed.
6. Mulch Around the Base
Adding a light layer of mulch around the base of the plant can help keep the soil moist, regulate temperature, and protect the roots. Just don’t pile it right up against the stem — leave a bit of space to prevent rot.
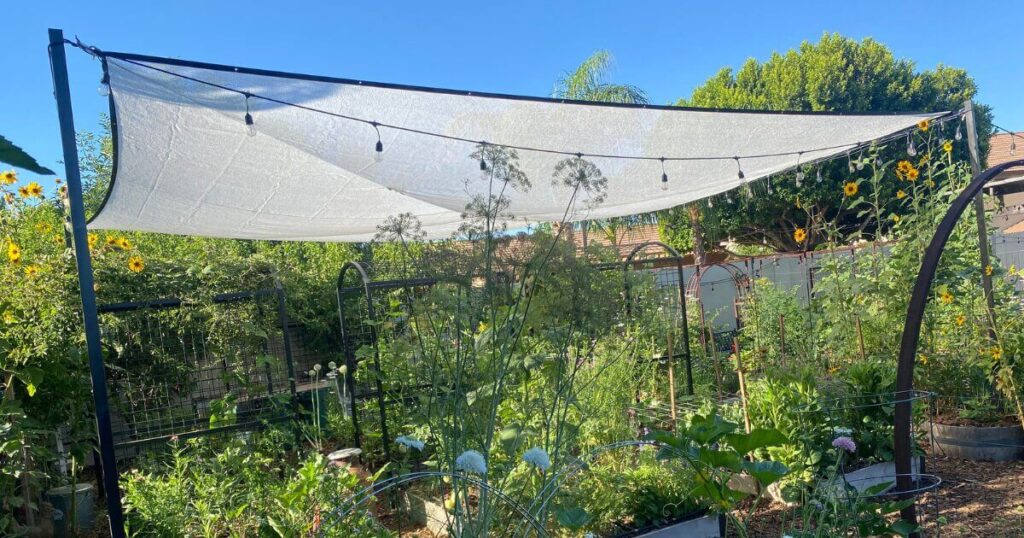
7. Offer Some Temporary Shade
If you’re planting in a very sunny spot, consider providing temporary shade for a few days using a shade cloth, umbrella, or even a cardboard screen. This gives the plant a chance to settle in without getting scorched.
8. Watch the Weather
If you can, try to avoid transplanting just before a heatwave, frost, or heavy wind. Mild, overcast days are ideal — they offer lower evaporation rates and less environmental stress.
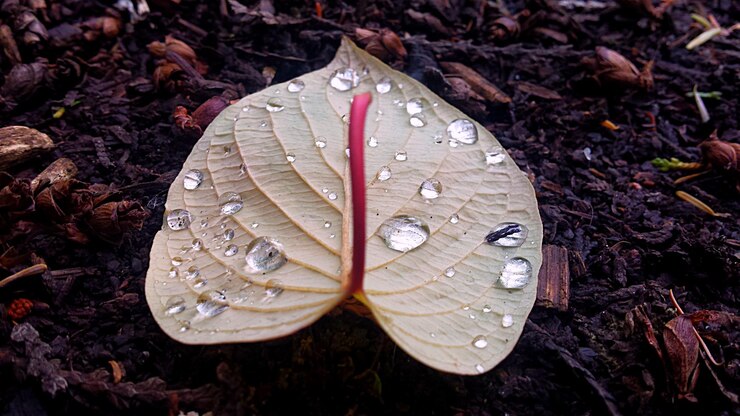
9. Don’t Worry if Leaves Drop
Some leaf drop is normal. The plant is focusing its energy on regrowing roots, and shedding leaves is a survival tactic. Keep up with good watering practices and give it time — in many cases, you’ll see new growth within a week or two.
How Long Does It Take to Recover?
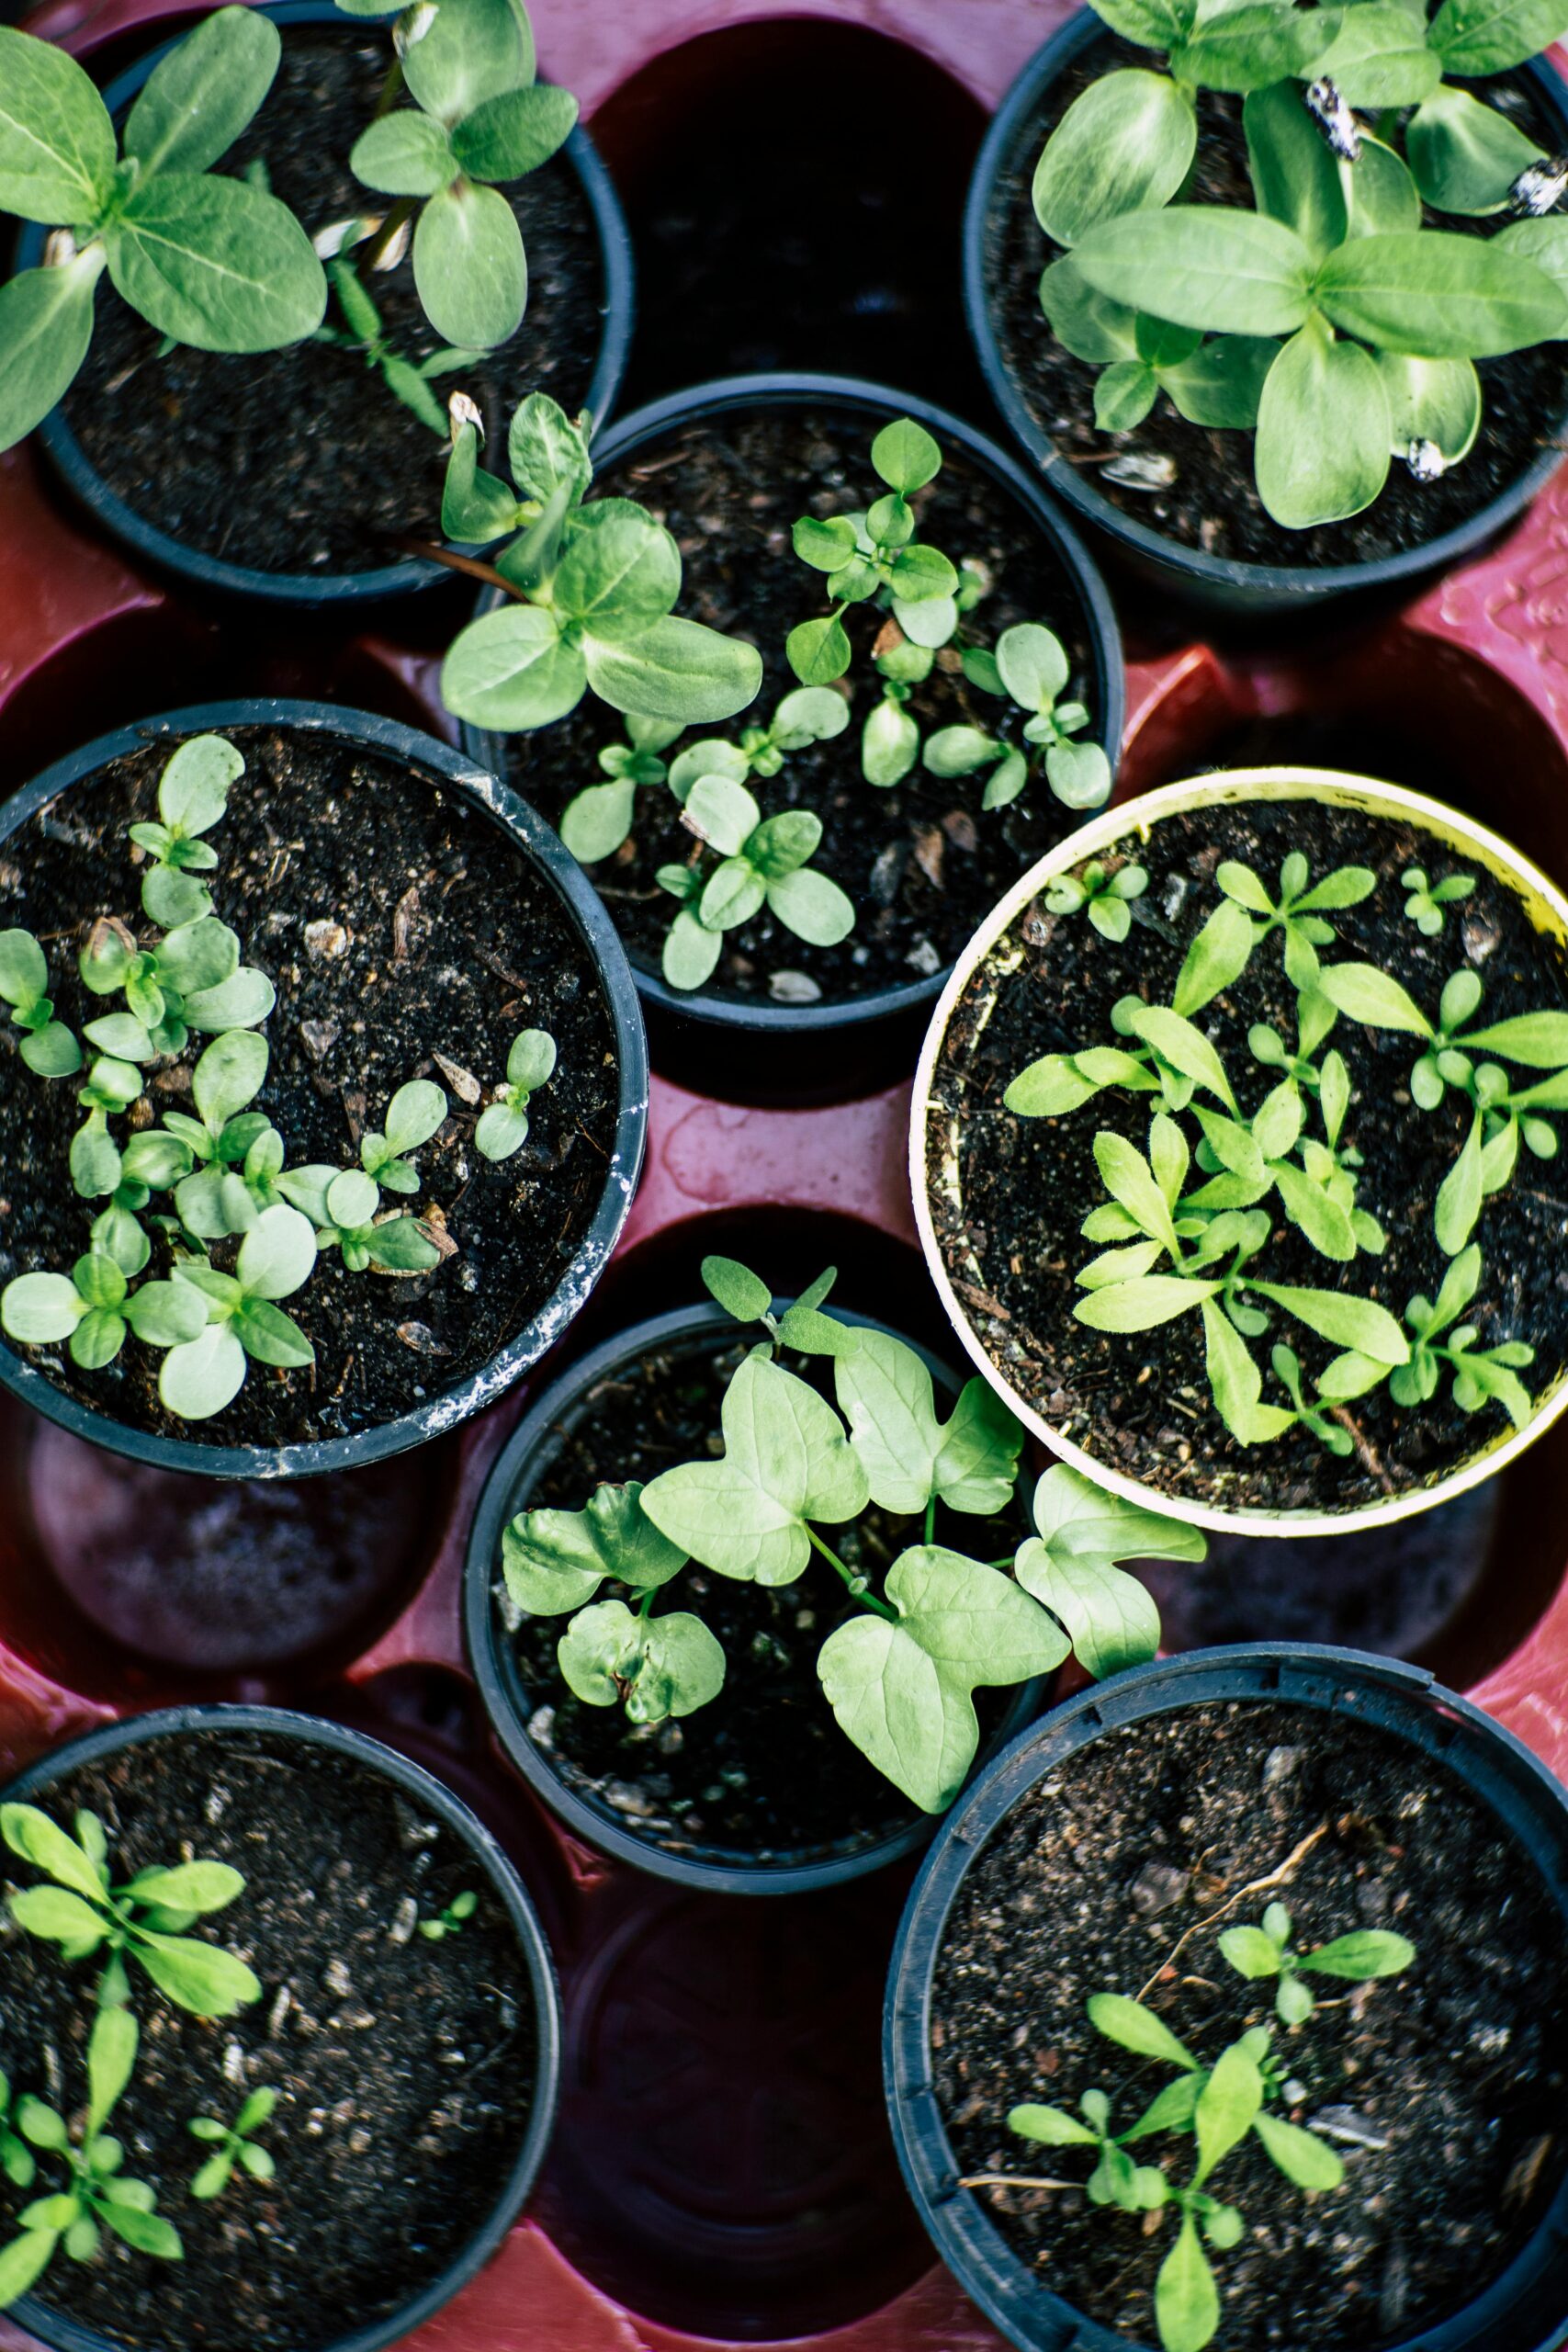
That depends on the plant. Some bounce back within a few days, while others might take several weeks. Seedlings and tender annuals tend to recover quickly, but larger plants like trees or perennials may take longer.
Keep an eye out for new growth — it’s the best sign your plant is recovering.
Transplant shock is a natural response to change. Urban gardening often means moving plants around — from balcony to windowsill, pot to raised bed. With a little patience and understanding a few steps on transplant shock is a skill every gardener should have in their toolkit.
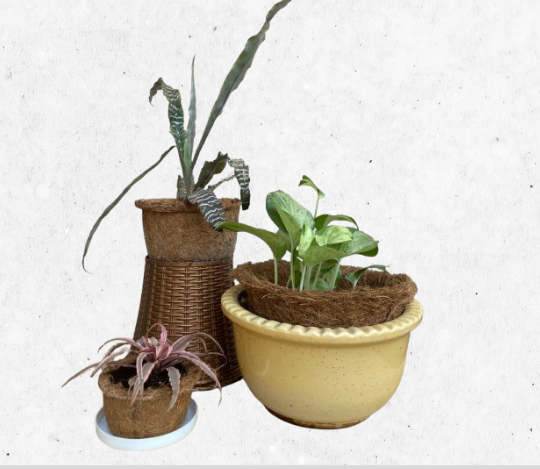
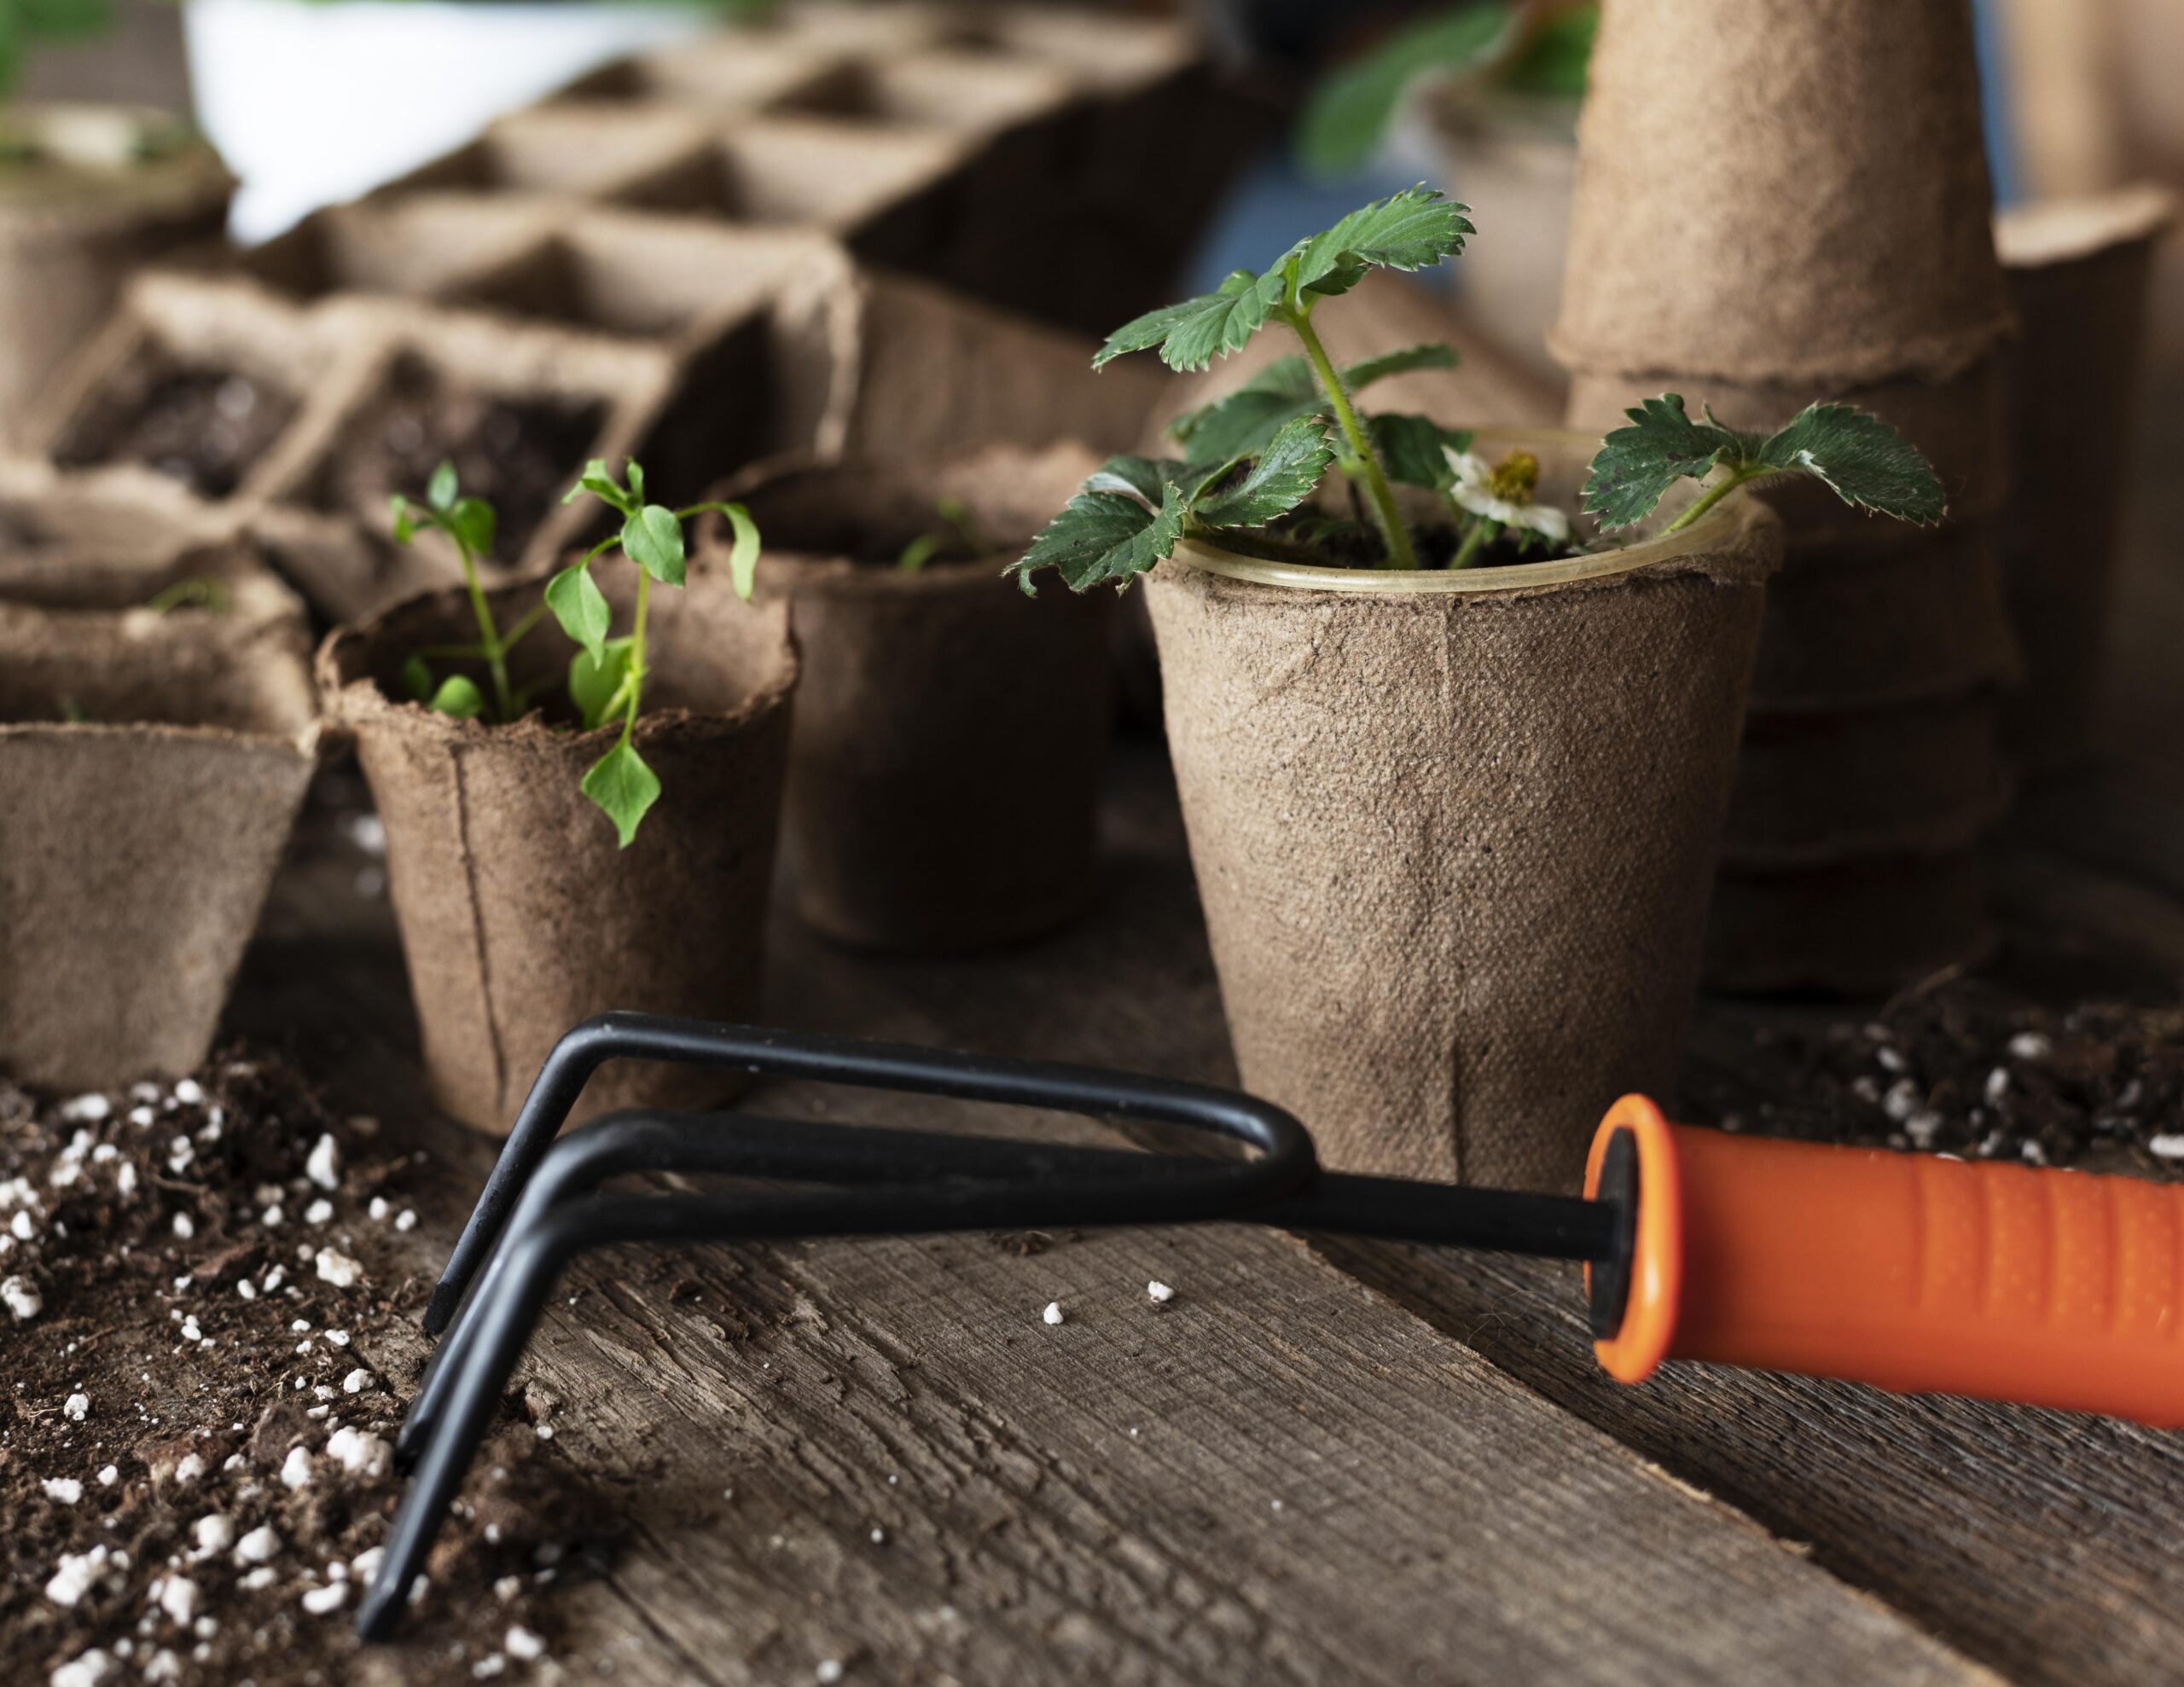
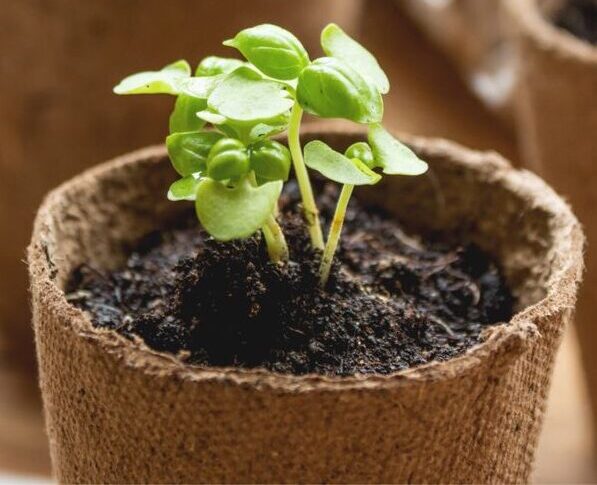
One practical way to make transplanting even smoother is to start with the right kind of pot and that’s where coir pots come in. You plant the entire pot directly into the soil, without causing any root disturbance. Visit this page to explore coir pots collection.